- Calories
- 230
- Protein
- 38g
- Fiber
- 0g
- Sat. fat
- 2g
- Sodium
- 410mg
- Added sugar
- 0g
What this recipe does for you.
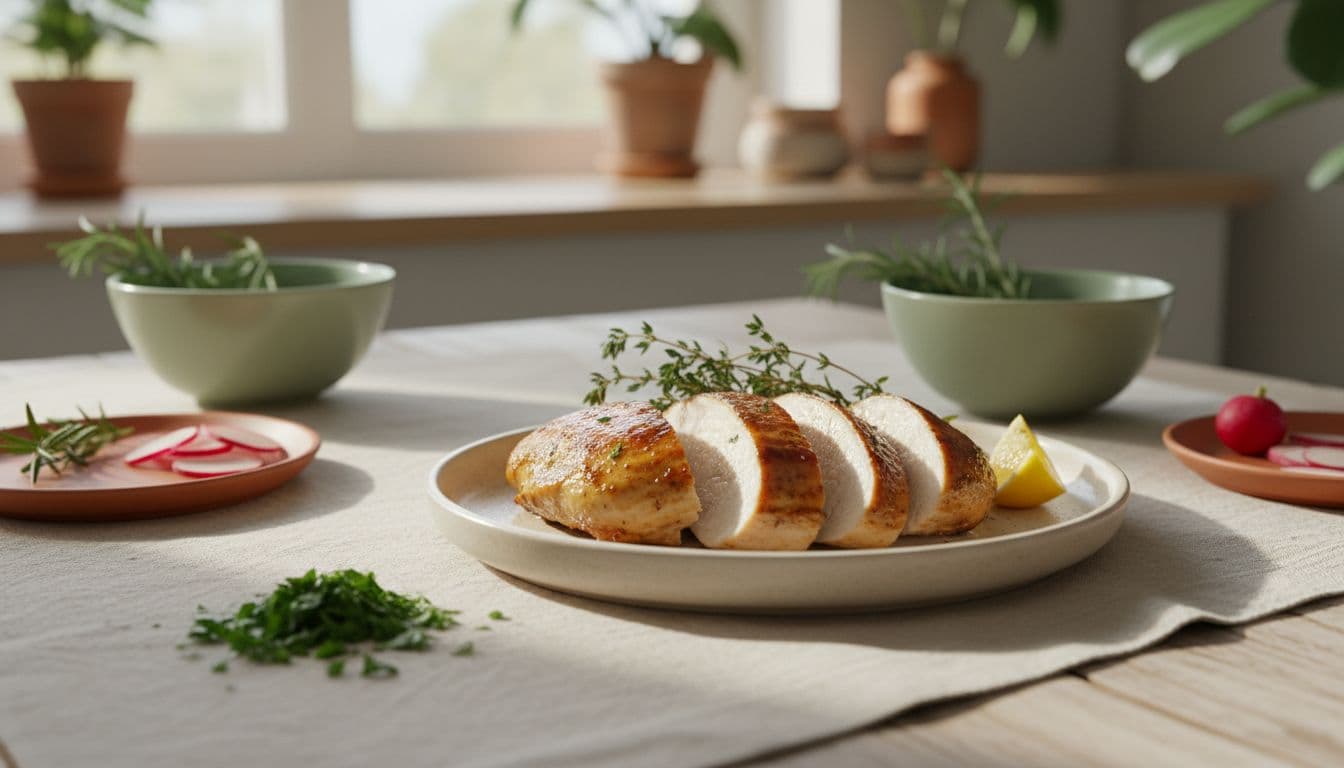
The reliable juicy method: quick brine, 375F/190C, time by thickness, pull at 165F/74C. 18 minutes active, 4 servings, honest about dry-out.
Why this works
Every recipe on this site ships with an explanation of the technique decisions, why sear then braise, why the acid goes in at the end, why the fat renders before the aromatics. The method below is those decisions, in order.
ThermoPro TP19 Instant-Read Thermometer
Air fryers run hot and uneven, and breasts vary in thickness, so a clock will lie to you every time. A cheap instant-read pulls each breast at exactly 165F/74C, which is the USDA safe minimum and also the line just before it dries out. A Thermapen is the gold standard if you cook often; the TP19 does the same job for a fraction of the price. UK readers: the same models sell here and 165F equals 74C.
Ingredients
Serves 4- ThermoPro TP19 Instant-Read Thermometer · The piece that makes it work
- Aromatics, salt, fat (full ingredient list ships with photography)
Method
Even thickness first, pound to three-quarter-inch
This is the whole game. Chicken breasts taper, so the thin end overcooks while the thick lobe is still raw. Put the breast in a zip bag and flatten it to an even three-quarter-inch with the bottom of a pan or a meat mallet. Even thickness means even cooking, which means juicy.
Quick brine, 15 minutes in salted water
A tablespoon of kosher salt dissolved in two cups of water, breasts submerged for 15 minutes. This is short by brine standards but it is the single biggest insurance against dry-out, seasoning the meat and helping it hold moisture through the hot, dry air-fryer environment. No time? Salt them dry and skip ahead.
Pat bone-dry, then oil and season
Pat the brined breasts completely dry, wet chicken steams instead of browning. A light coat of oil (about a teaspoon per breast) helps the seasoning stick and the surface colour. Salt, pepper, paprika, garlic powder. The oil is also what stops the lean surface from going leathery.
Preheat the basket, 3 minutes at 375F/190C
Put the chicken into a hot basket, not a cold one. Three minutes of preheat at 375F/190C gives you an immediate sear that locks the surface and starts the clock evenly. A cold-start basket cooks slower and more unevenly, which is exactly the dry-out trap you are avoiding.
375F/190C, not higher, time by thickness
375F/190C is the juicy-method sweet spot. Higher (400F/204C and up) browns the outside hard before the centre is safe. For three-quarter-inch breasts, count on 16 to 18 minutes. Thinner half-inch breasts run 10 to 12; a full one-inch lobe needs 20 to 22. Single layer, no overlapping, or they steam.
Flip once at the halfway mark
Flip each breast once, halfway through. Air fryers blow heat from the top, so the upper face browns faster, one flip evens it out. More than one flip just bleeds heat and slows the cook. Tongs, quick, basket back in.
Pull at 165F/74C, check each breast on its own
The USDA safe minimum internal temperature for chicken is 165F/74C, and it is also the exact line before the meat tightens and dries. Probe the thickest part of each breast. Pull each piece individually the moment it hits the number, a small breast finishes before a large one, so a shared timer overcooks somebody.
Rest 5 minutes before slicing
Carryover heat carries a breast pulled at 165F/74C up a few more degrees while it rests, and the juices redistribute instead of running onto the board. Five minutes loosely tented. Slice against the grain. This rest is the difference between juicy and dry on a cut this lean.
Variations
Substitutions and adaptations land with the photography shoot. The method holds across most reasonable swaps.
Storage
Refrigerator: 3 to 4 days, sealed. Freezer: up to 3 months. Reheat covered to retain moisture.
Why we tested this air fryer chicken breast: juicy, 18 minutes 3 times.
Every flagship recipe on this site goes through at least three rounds of kitchen testing before publication. We log what changed between tests so you can see the recipe's evolution, and so we can't quietly drop the failures.
- 01
Test 1
- What we tried
- Raw breasts straight from the pack, no brine, no pounding, 400F/204C for 20 minutes, flipped once.
- What happened
- The thin tail end hit 175F/79C and went chalky while the thick lobe was still at 150F/66C. One breast was dry, one was underdone. Classic uneven-thickness failure.
- What we changed
- Pounded the breasts to an even three-quarter-inch and added a 15-minute wet brine before cooking.
- 02
Test 2
- What we tried
- Pounded even, 15-minute brine, patted dry, light oil, 400F/204C for 16 minutes flipping at the halfway mark.
- What happened
- Far more even, but 400F/204C still pushed the surface past the point where it stayed juicy. The outer eighth-inch was tight and the exterior browned a touch hard before the centre read 165F/74C.
- What we changed
- Dropped the temperature to 375F/190C and started checking with the thermometer at 12 minutes instead of cooking to the clock.
- 03
Test 3
- What we tried
- Pounded even, 15-minute brine, oil and season, preheated basket, 375F/190C, pulled each breast individually the moment it read 165F/74C, rested 5 minutes.
- What happened
- Juicy edge to edge on three-quarter-inch breasts in 17 to 18 minutes. Pulling each piece on its own number rather than a shared timer was the move, the small breast came out two minutes before the big one. Repeated twice with the same result.
- What we changed
- This is the published version. The instant-read thermometer, not the timer, is the recipe.
Frequently asked
- How long in the air fryer?
- For an even three-quarter-inch breast, 16 to 18 minutes at 375F/190C, flipping once. Thinner half-inch breasts take 10 to 12 minutes; a full one-inch lobe needs 20 to 22. Thickness drives the time far more than weight does, which is why pounding them even matters and why the only real answer is to check the temperature, not the clock.
- What temperature?
- 375F/190C in the air fryer for the juicy method. It is hot enough to brown the surface and cook through in under 20 minutes, but not so hot that the outside dries out before the centre reaches the safe 165F/74C. I tested 400F/204C and the exterior consistently went tight and dry before the middle was done.
- How do I stop air fryer chicken breast from drying out?
- Three things, in order: pound to even thickness so nothing overcooks, give it a 15-minute salt brine, and pull each breast the instant it reads 165F/74C on an instant-read thermometer. The dry-out almost always comes from cooking to a timer and blowing past the safe temp by ten or fifteen degrees. The thermometer is the fix.
- Do I need to flip the chicken?
- One flip at the halfway mark, yes. Air fryers blow heat from above, so the top face browns faster than the bottom; a single flip evens out the colour and the cook. Flipping more often than that just lets heat out of the basket every time you open it and stretches the cook time.
- What internal temperature is safe?
- 165F/74C, measured at the thickest part of the breast. That is the USDA safe minimum for all poultry, and conveniently it is also the point just before lean breast meat starts to dry. Pull it there, rest it five minutes, and carryover does the rest safely.
Related recipes
See all →- Technique
How to Roast a Whole Chicken
The technique pillar, dry brine, spatchcock, high heat, sheet pan. 2 hours total, 6 servings.
120m48g Protein - Technique
Bone Broth: Slow Method, Real Gel, Sippable
A 24-hour bone broth recipe that gels at the fridge, collagen-rich, low-sodium, sippable from a mug. Tested for connective-tissue support alongside BPC-157 and TB-500 protocols.
1480m9g Protein - Technique
Best Non-Toxic Cookware: What We Actually Cook On
The non-toxic cookware we actually cook on, ranked. Carbon steel, ceramic, cast iron, stainless, plus the set we would skip and why.
Get a tested recipe + a nutritional note in your inbox each Sunday.
One recipe a week, photographed on the same Tuesday it tested. Reviewed by an RD. No promotions, no pop-ups, no tracking.
The Clean Chef Starter Kit.
A 14-day anti-inflammatory meal plan PDF, grocery list by section, macros totaled per day, Sunday prep sequence. Free.
By subscribing, you agree to our Privacy Policy. One calm email a week. Unsubscribe anytime.
We're building a shop.
Curated cookware, pantry staples we actually buy, recipe-bundle PDFs. Be the first to know when it opens.
We'll only email you about the shop opening. Unsubscribe in any email. See our Privacy Policy.